Best motorcycle riding videos
Motorbike rides, travel and tourism
<-- Connect with VRIDETV in social media -->


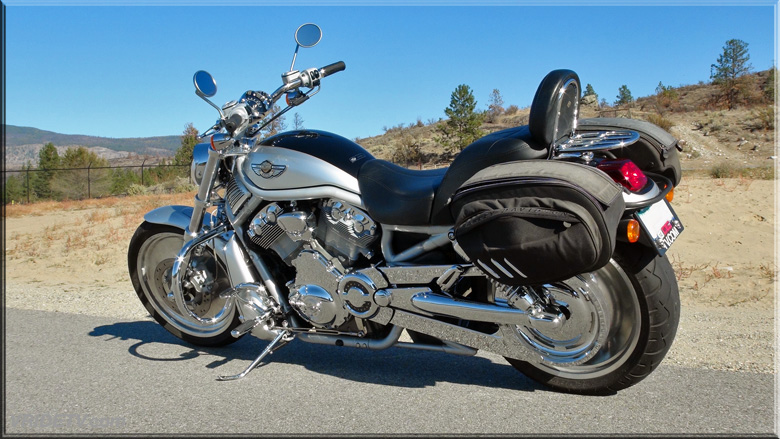
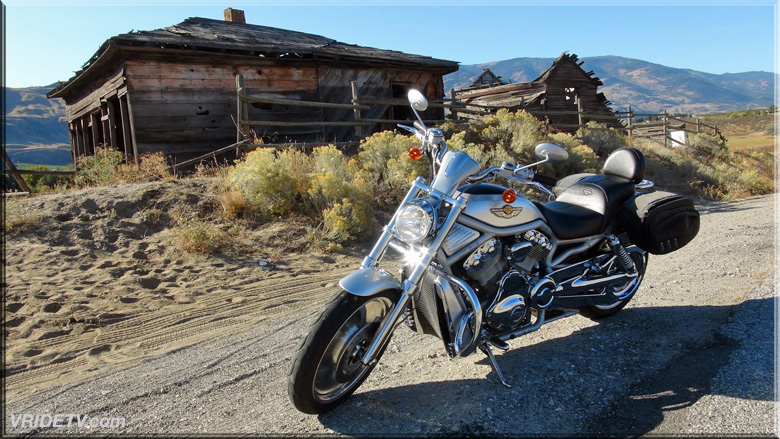
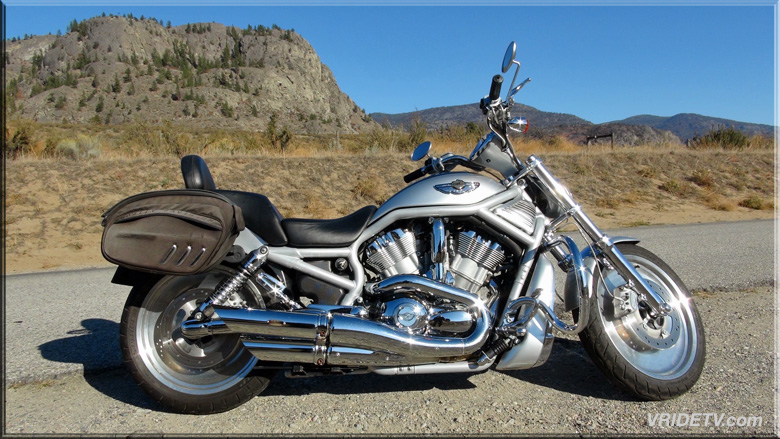
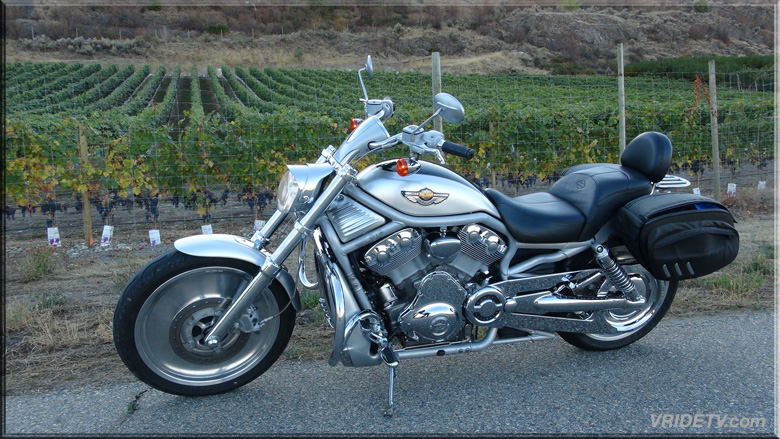
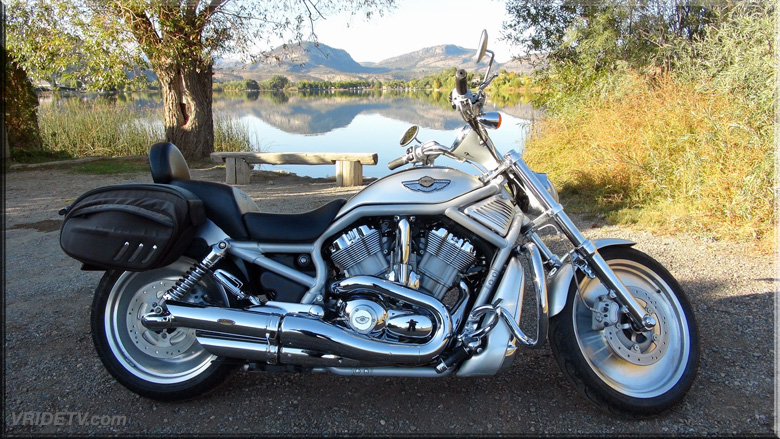
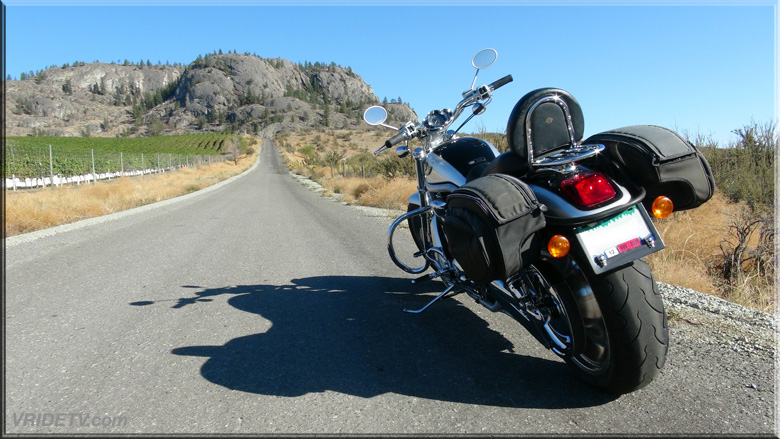
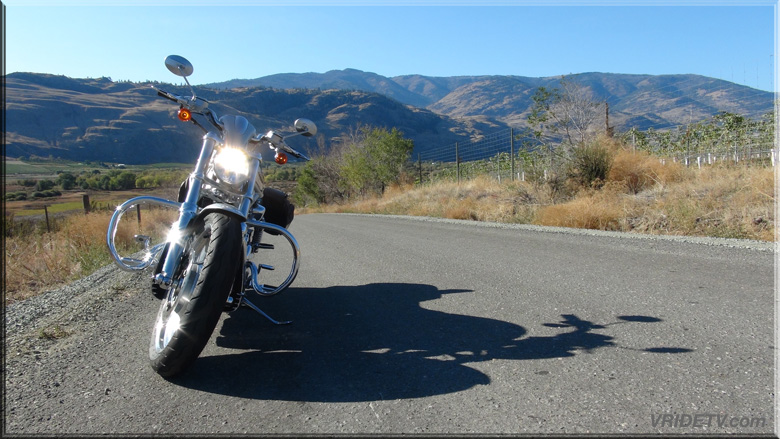
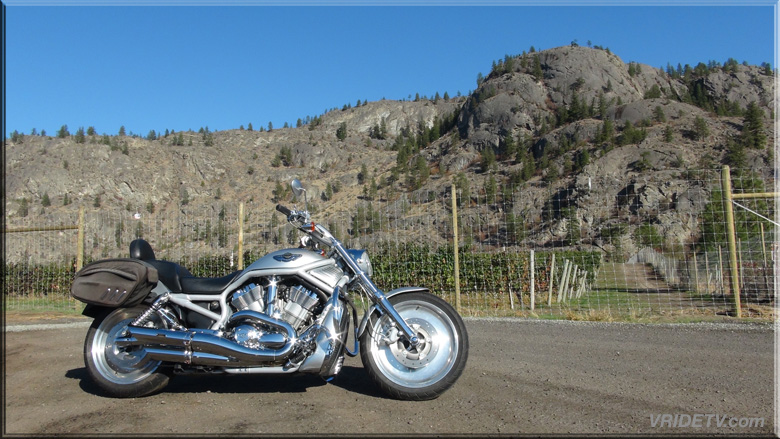
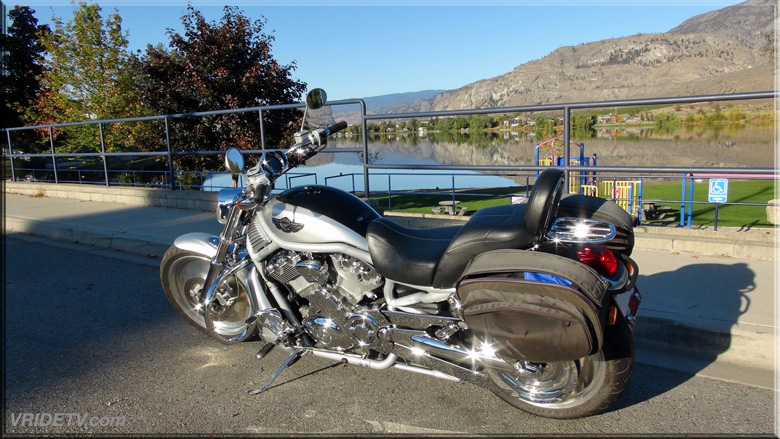
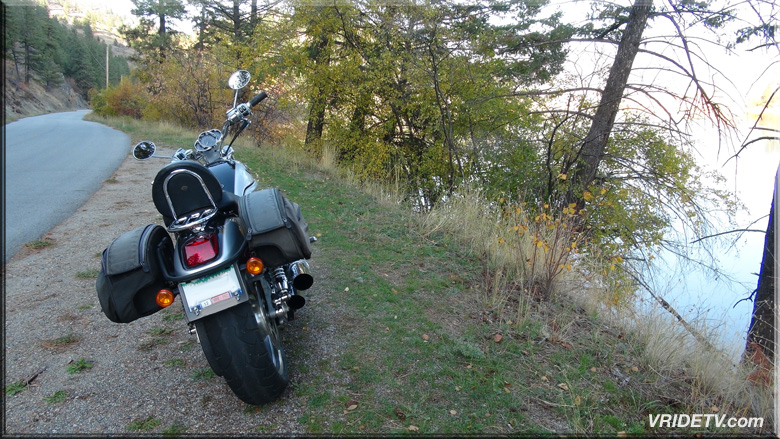
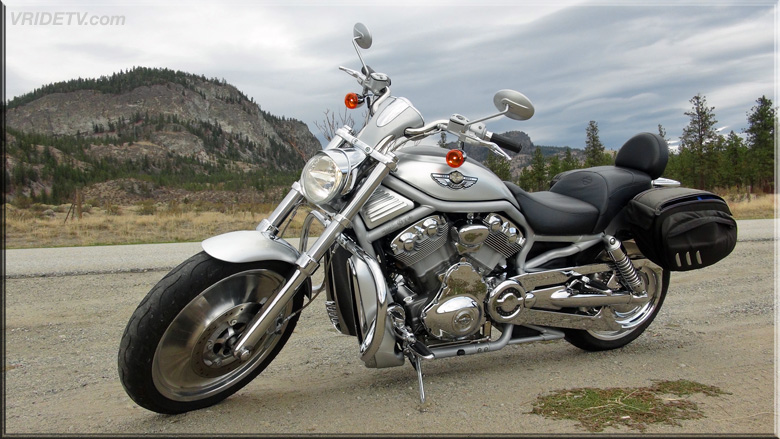
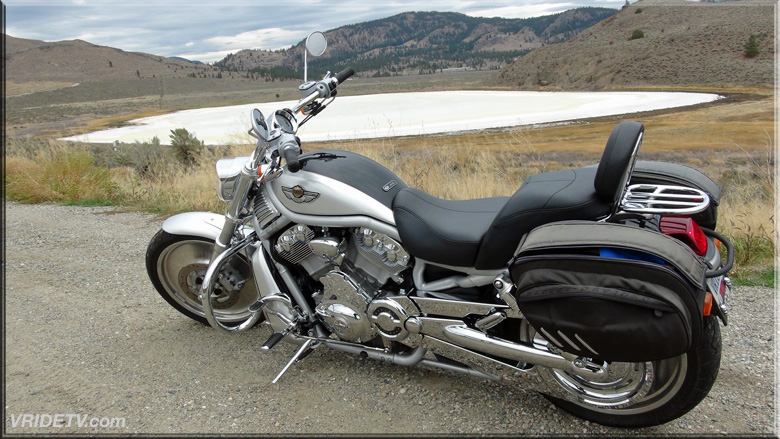
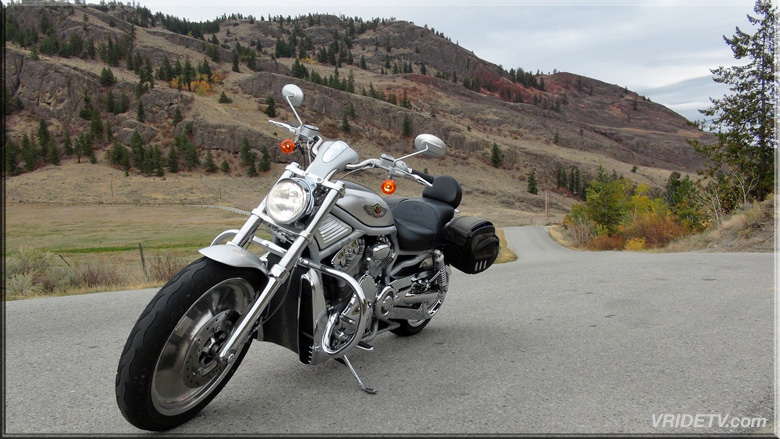
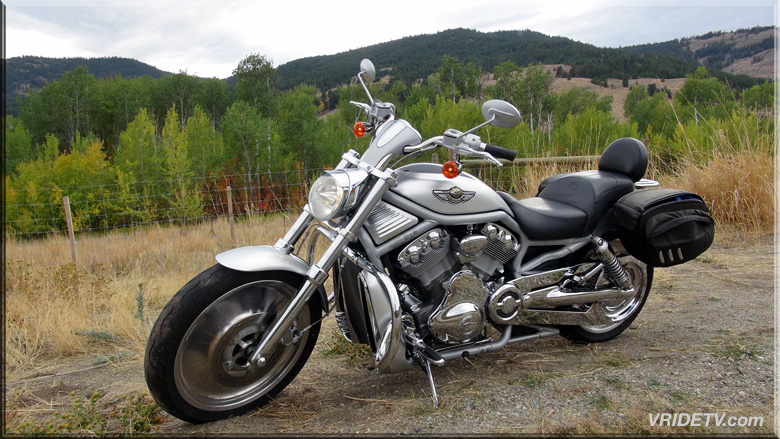
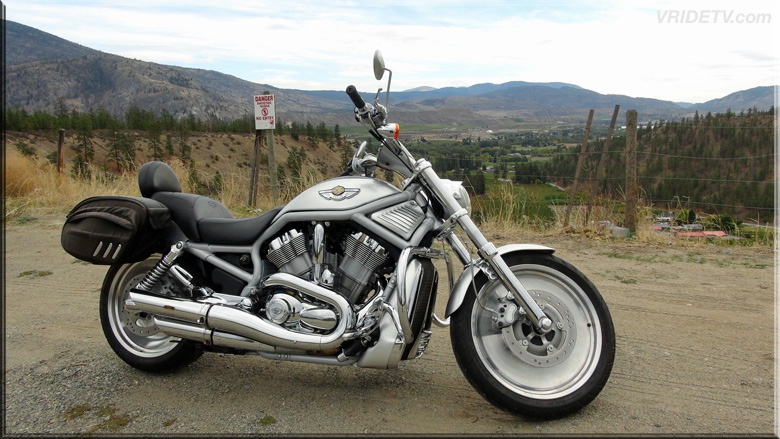
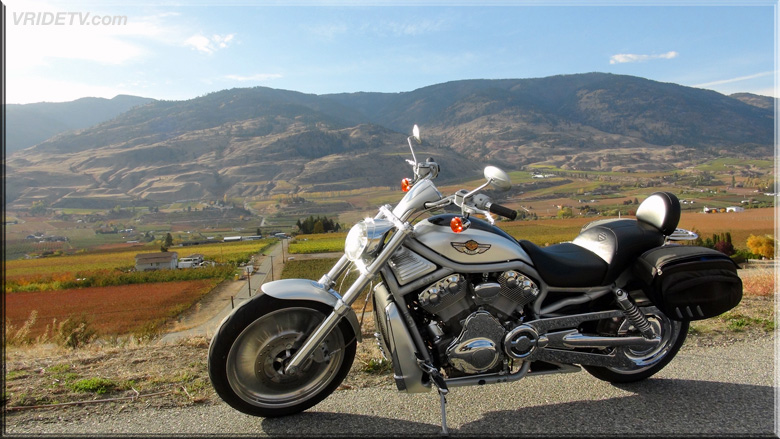
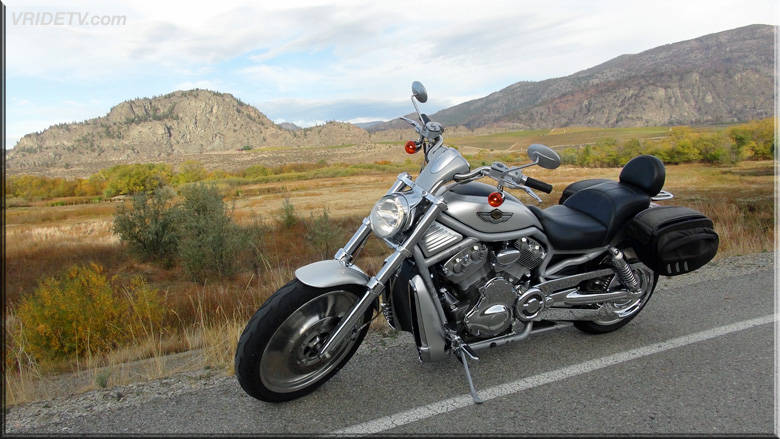
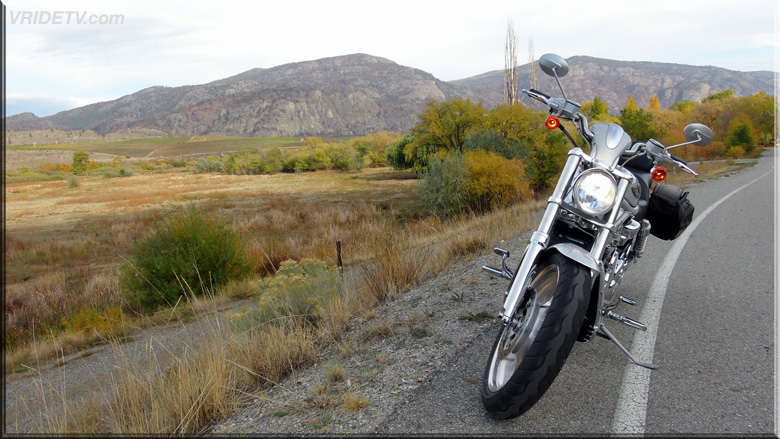
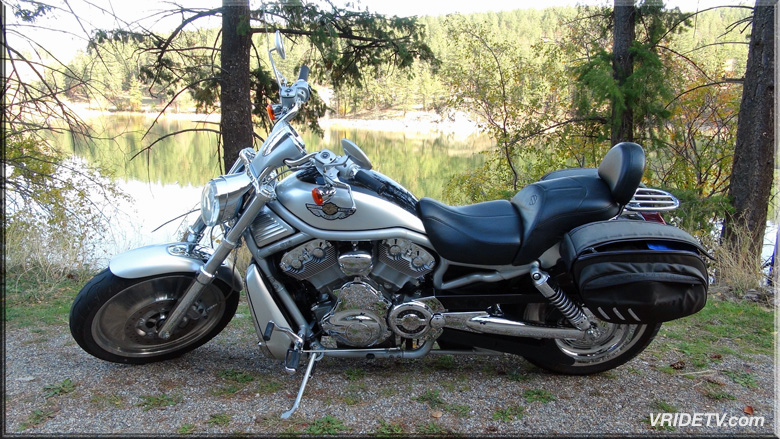
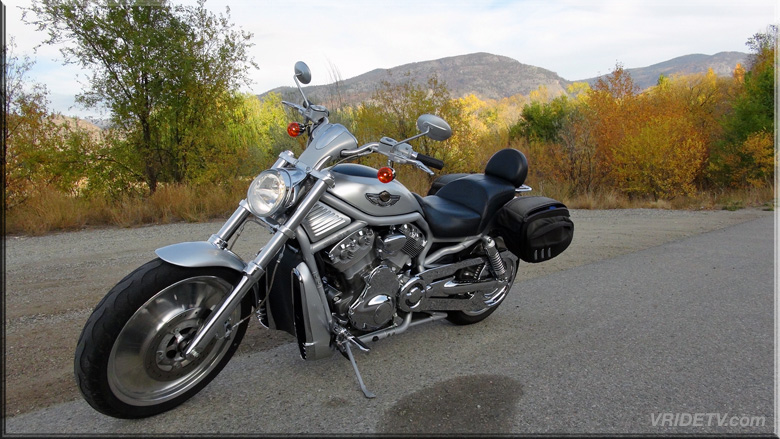
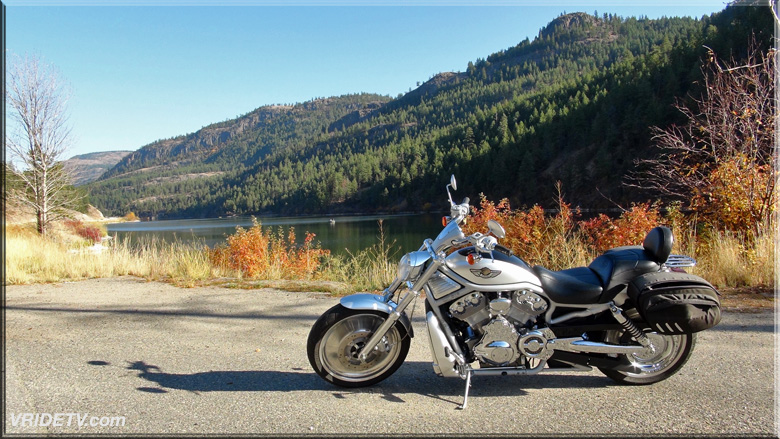
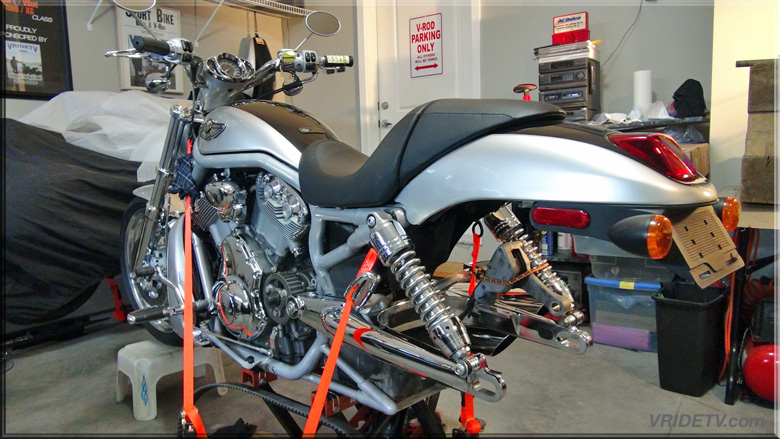
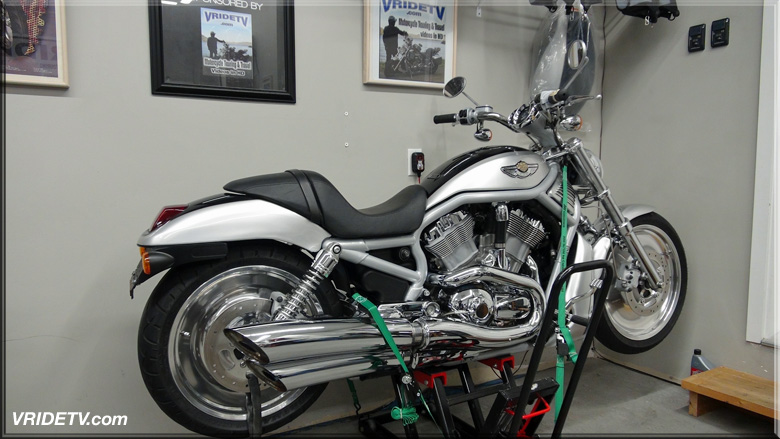
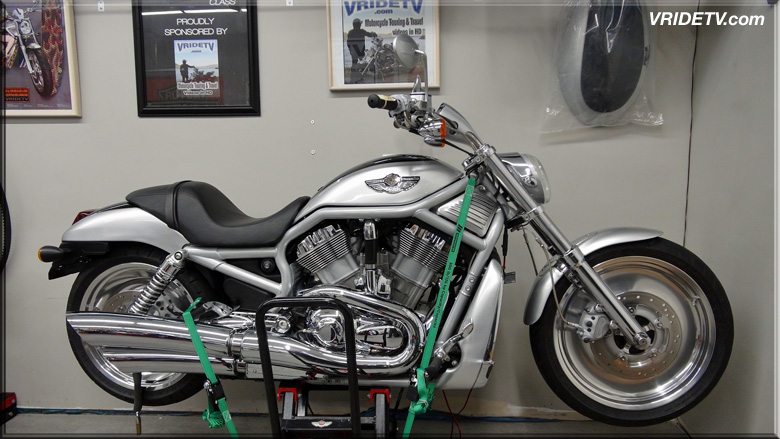
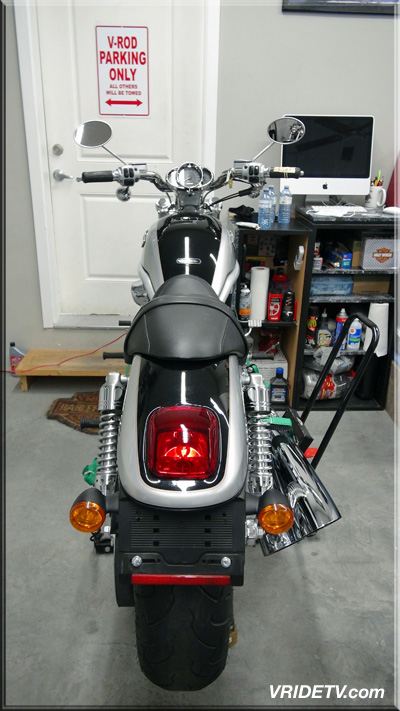
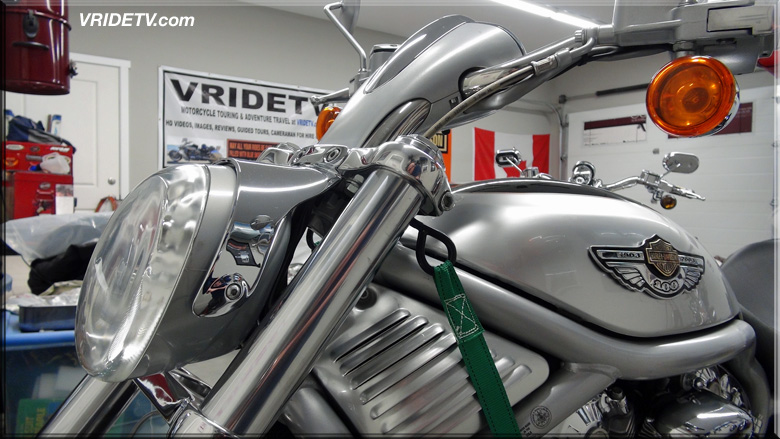
2003 Harley-Davidson V-Rod VRSCA 100 year Anniversary Motorcycle
V-Rod Specifications Engine and transmission
Displacement: 1130.00 cm (68.95 cubic inches)
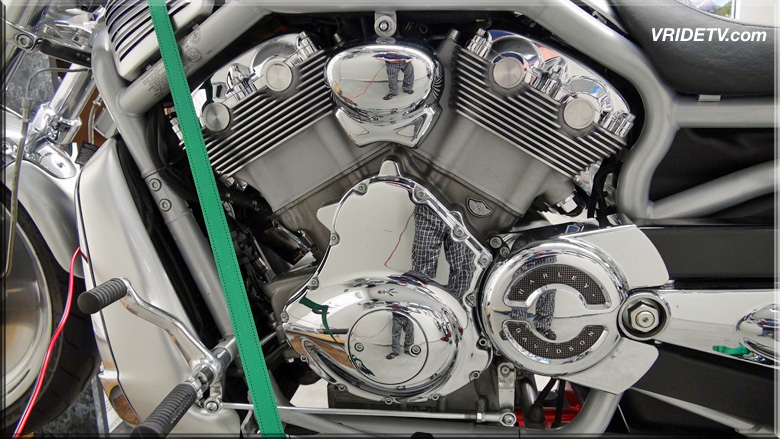
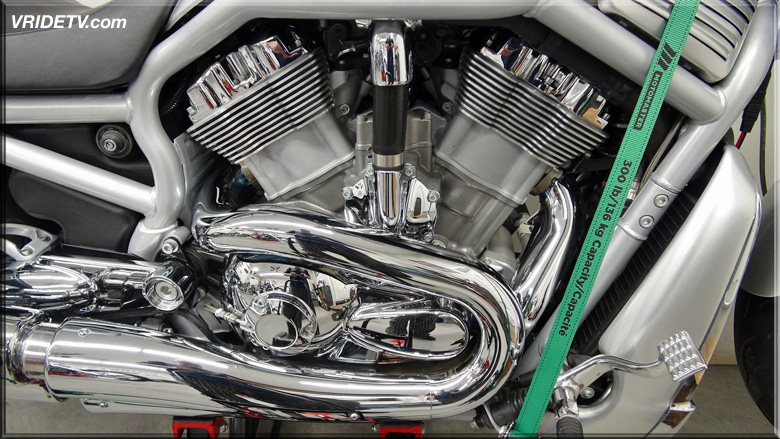
Engine type: V2 REVOLUTION
Stroke: 4
Torque: 105.00 Nm (10.7 kgf-m or 77.4 ft.lbs) @ 6600 RPM
Compression: 11.3:1
Bore x stroke: 100.0 x 72.0 mm (3.9 x 2.8 inches)
Fuel system: Injection
Cooling system: Liquid
Physical measurements
Fuel capacity: 14.00 litres (3.7 gallons)
Dry weight: 285.0 kg (628.3 pounds)
Seat height: 660 mm (26.0 inches)
Overall length: 2,377.4 mm (93.6 inches)
Ground clearance: 141 mm (5.6 inches)
Wheelbase: 1713.2mm (67.5 inches)
Saddle height: 660.4 mm (26.0 inches)
Genuine Harley-Davidson Accessories that have been removed to restore this bike back to OEM stock:
100th Anniversary Clutch Cylinder Cover p/n 34812-03
100th Anniversary Derby Cover Kit p/n 25373-03
Chrome Billet Sprocket p/n 4019-01
Chrome Front Sliders 46526-02A
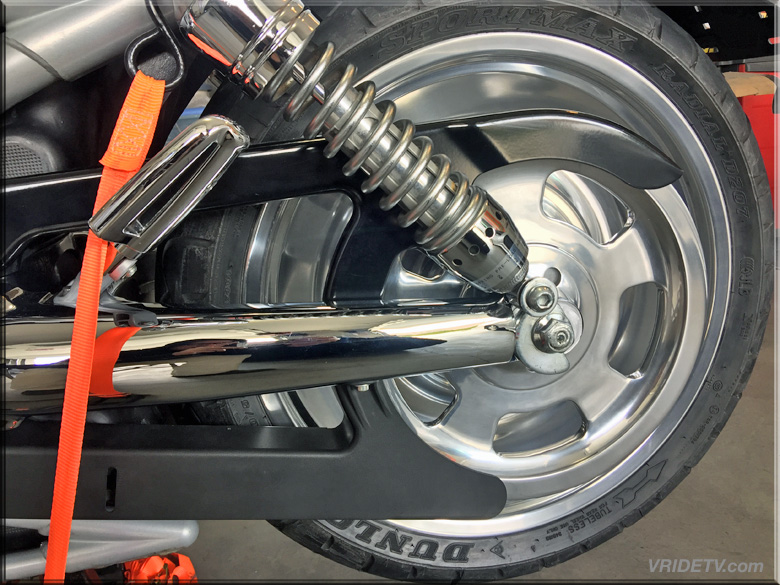
Chrome Swingarm p/n 48410-01A
Chrome Swingarm Pivot Bolt Covers p/n 48893-01
Chrome Upper Belt Guard p/n 60469-01
Chrome Lower belt Guard p/n 60484-01A
Chrome Rear Axle Cover p/n 45621-02
Chrome Front Axle Nut Covers p/n 43317-01
Chrome Coolant Hose Cover Kit p/n 29770-01
Chrome Upper Fork Stem Cover Kit p/n 46213-02
Chrome Billet Cam Cover Medallion Kit p/n 44497-02
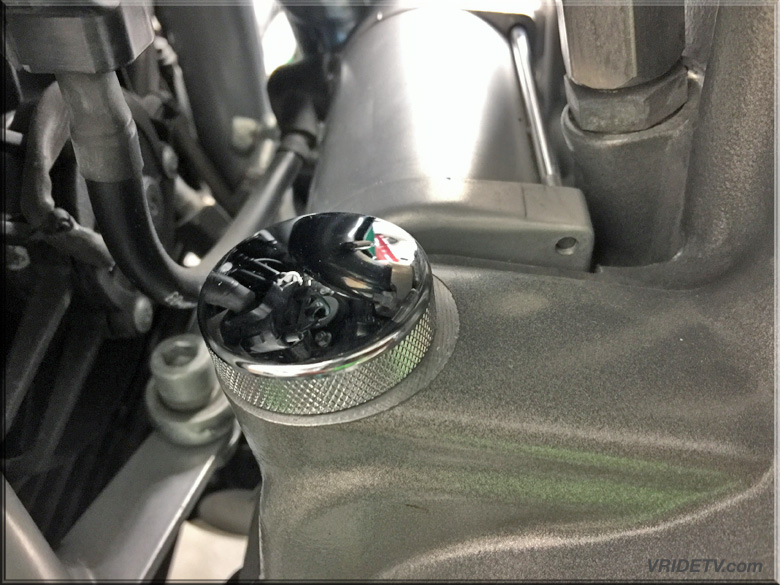
Oil Temperature Dipstick p/n 26962-01A
Nylon Saddlebags p/n 91441-06
Saddlebag Mounting Hardware Kit p/n 91440-06
Chrome Fender Baseplate p/n 51120-01A
Chrome Luggage Rack p/n 51119-01A
Chrome Luggage Rack and Sissy Bar Hardware Kit p/n 94112-04
Tallboy Rider Seat and Pillion p/n 52927-05
Smooth Look Touring Passenger Backrest Pad p/n 51783-07
Low Sissy Bar Upright p/n 51126-01A
Quick-Release Detachable Touring Windshield p/n 57211-05
Headlamp Visor p/n 67750-88T and visor Screw p/n 3383
Chrome Engine Guard Kit p/n 49267-01
Chrome Billet Muffler Clamp Kit p/n 65271-03
Screaming Eagle Slip On Mufflers: Top p/n 65028-02 Bottom p/n 65015-02
Custom Hand Control Lever Kit p/n 45533-02
Rider Slotted Chrome and Rubber Custom Footpegs p/n 43280-01
Passenger Slotted Chrome and Rubber Custom Footpegs p/n 43280-01
Slotted Chrome Shifter Lever p/n 34555-01A
Slotted Chrome Rear Brake Lever p/n 42964-01A
Rear Master Cylinder Chrome Banjo Bolt Cover
Slotted Polished Stainless Steel Gear Shift Linkage 33796-02
Contoured Chrome and Rubber Hand Grips p/n 56799-04 (small)
Chrome Jiffy Stand p/n 49742-01
Chrome Pin for Jiffy Stand p/n 49742-01
Chrome Cam Tension Bolt p/n 17673-02
Polished Stainless Steel Foot Peg Mounting Pins p/n 42679-01 (rider)
Polished Stainless Steel Foot Peg Mounting Pins p/n 42679-01 (passenger)
Chrome Rider FootPeg Mounting Kit p/n 50809-02A
Chrome Rear Passenger Foot Peg Brackets p/n 51000-02
Chrome H-D Motor Co Logo Allen Head Hole Plugs p/n 94529-95
Chrome H-D Motor Co Logo Allen Head Hole Plugs p/n 94531-95
Three Ignition Keys
Bike also came with:
5.3 Gallon Unlimited Engineering Fuel Tank (new in the box)
Unlimited Engineering Lock Ring Tool
K&N Air Filter
Electric Vest Wiring Harness
LED Headlight
LED Turn Signal and Running Light Replacing 1157 Bulbs
LED Turn Signal and Running Light Replacing 1156 Bulbs
Tab Performance Slash Cut Exhaust Pipes (UN-Baffled)
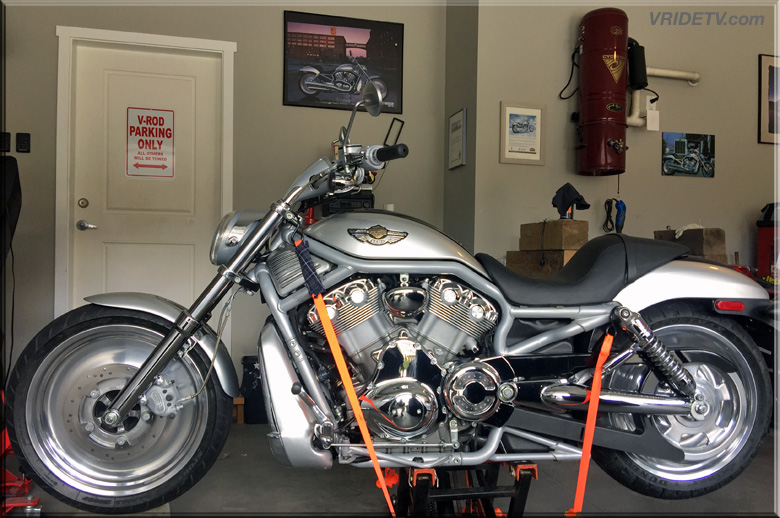
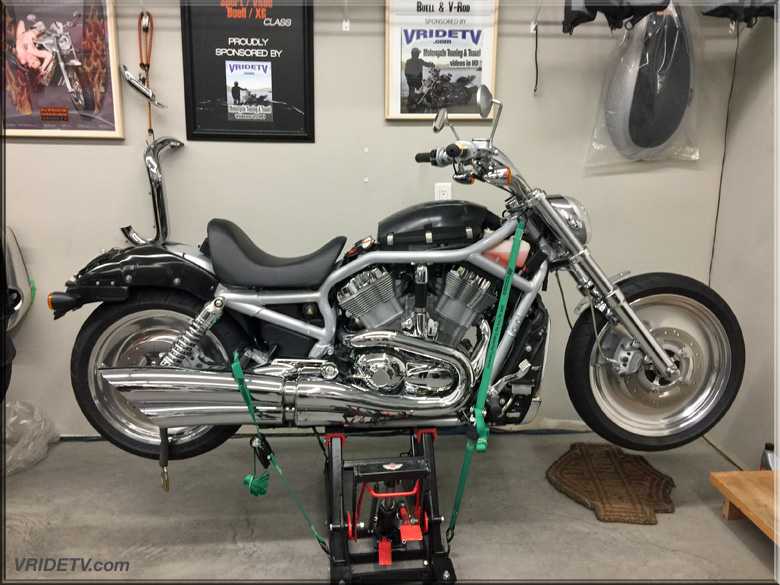
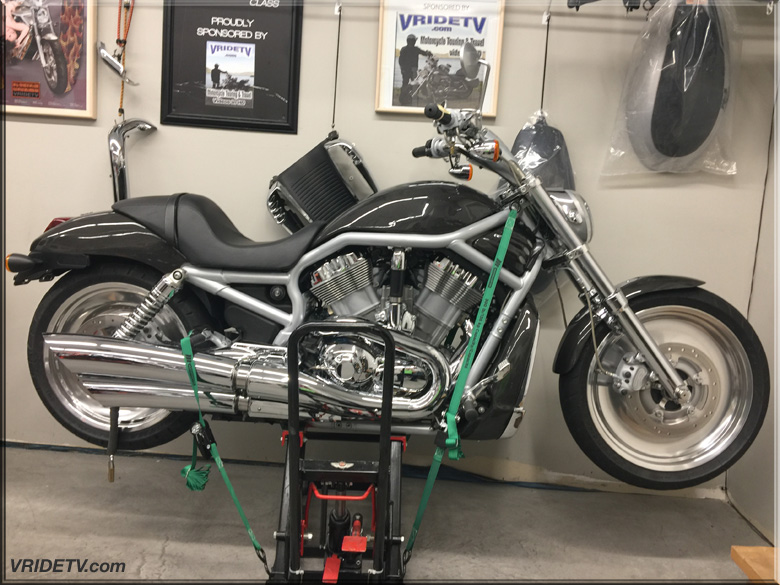
2003 Harley-Davidson Two Tone Sterling Silver and Black 100th Anniversary VRSCA V-ROD
Odometer Reading: 23,480 kilometres. I’m the third owner & the gentleman I bought it from had it for six weeks, decided to sell because it was to small for him. (He was a very big man)
PROJECT VROD #3
2003 Harley-Davidson 100th anniversary VRSCA V-ROD restoration


 to do a deep cleaning with AutoSol and then Mother's chrome polish. Just put them back on and must say they look as good as new!")


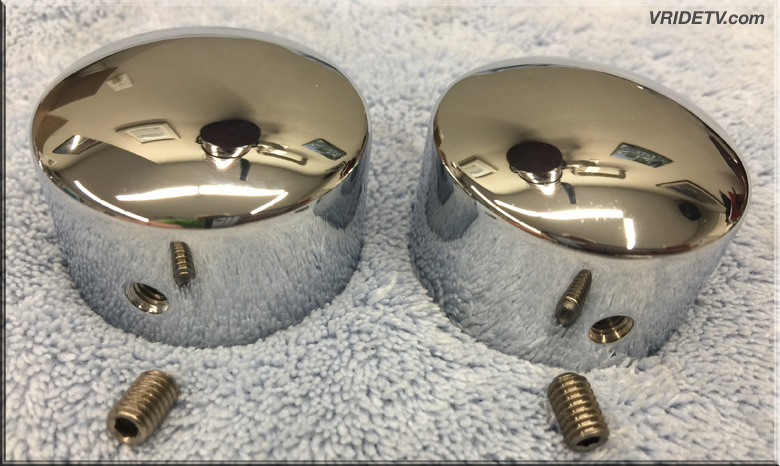
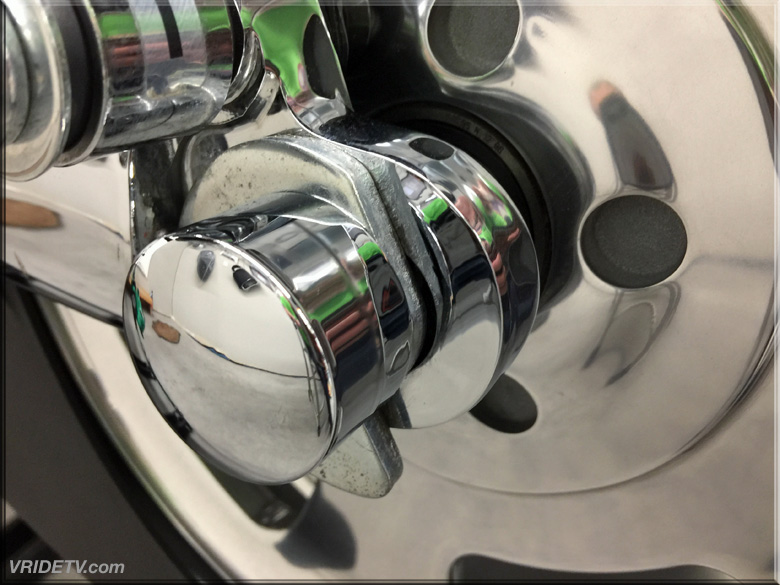


Devils in the details!")

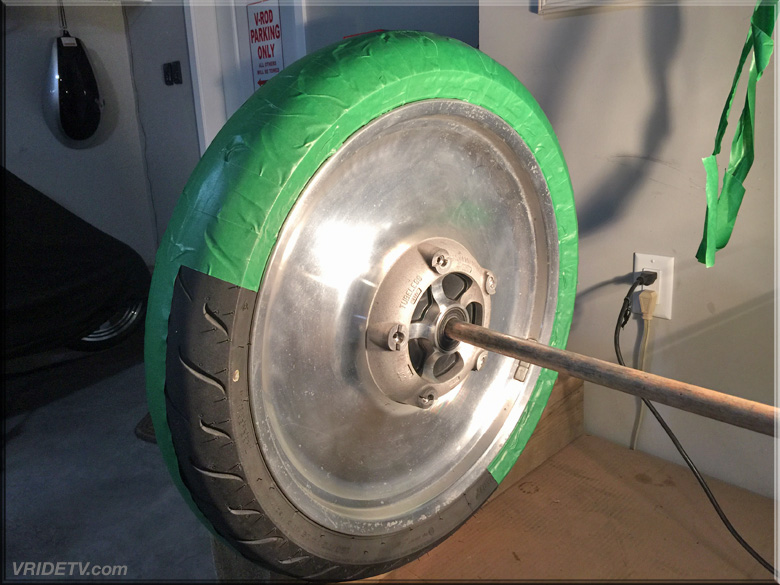
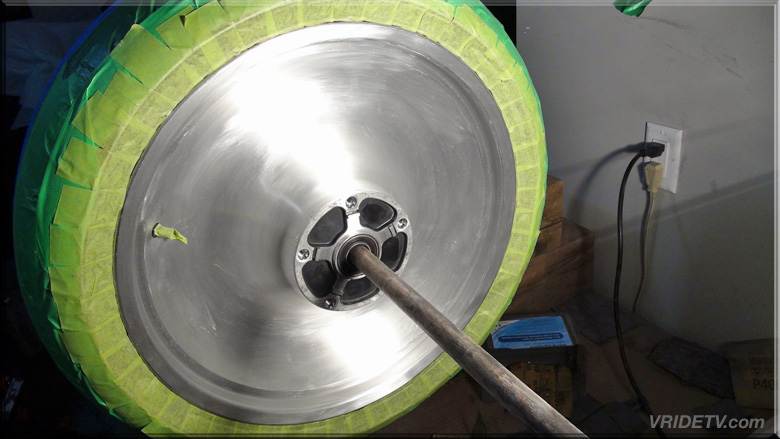
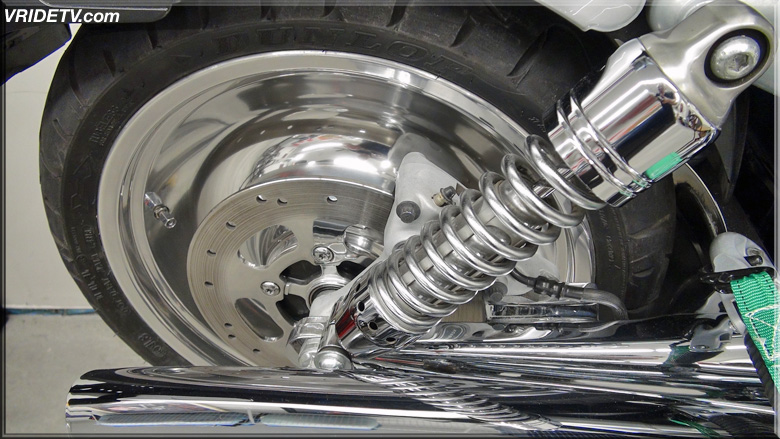
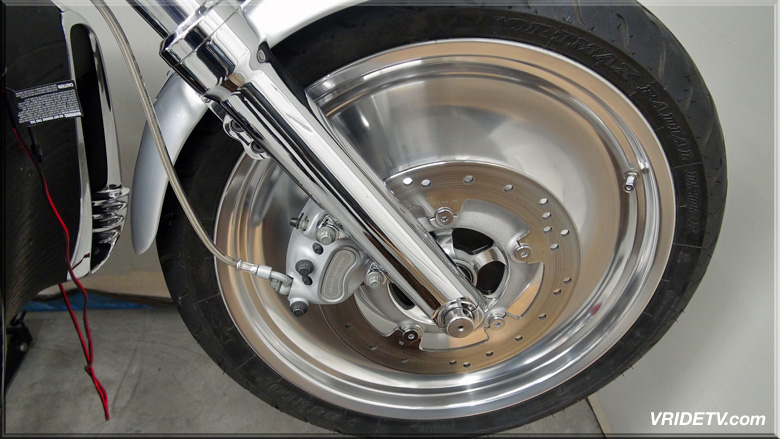
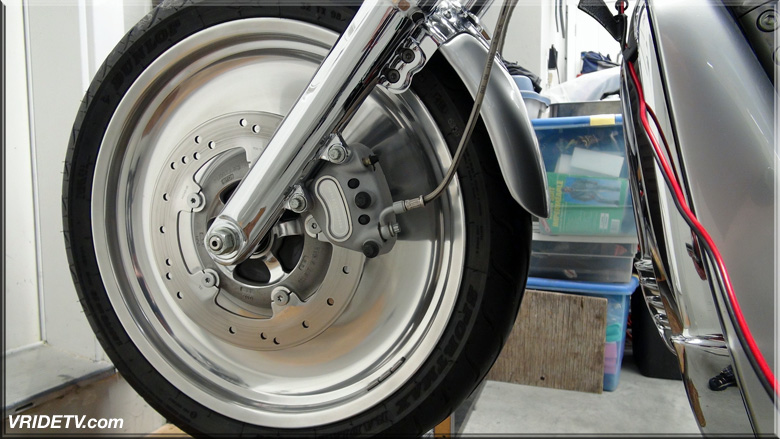
The solid aluminum wheels on the Harley Davidson Vrods are notorious for pitting and oxidation. The good news is that they can be brought back to life and look better than new!
- My method:
- Remove wheel from bike
- Remove brake discs
- Make sturdy base high enough to slide an old broom through the axle and support weight of wheel.
- Slide a wheel spacer onto the broom handle between wood & wheel.
- Screw in stopper screws to prevent wheel from rolling off bench.
- Halogen light clamped down.
- Next I will be using 2 inch masking tape to cover the entire tire to prevent it from getting mucky and having to clean it later.
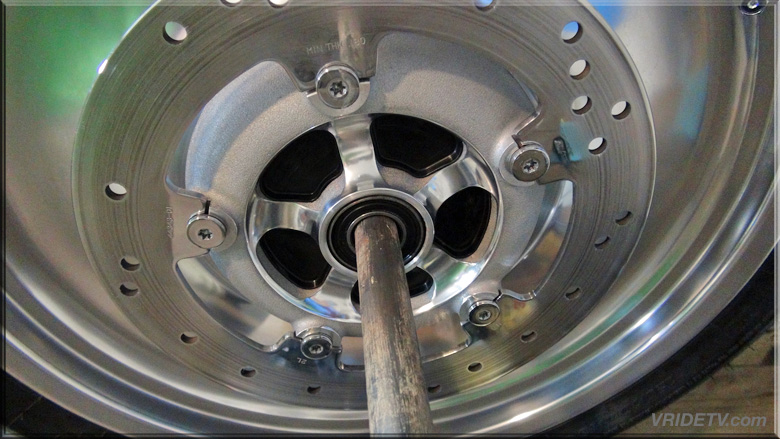
- Now here is where things can vary...
- The aluminum on this wheel is quite oxidized and is also pitted. So in this case I will have to do some sanding to get it smooth before Polishing can begin.
- If you’re wheel isn’t pitted you’re lucky and can skip the sanding & go right to polishing.
- Remember to wear gloves and mask to protect yourself.
- Sanded with 220, 320, 400, 600, 800, 1000, 2000 grits of wet/dry sandpaper then polished with AutoSol.
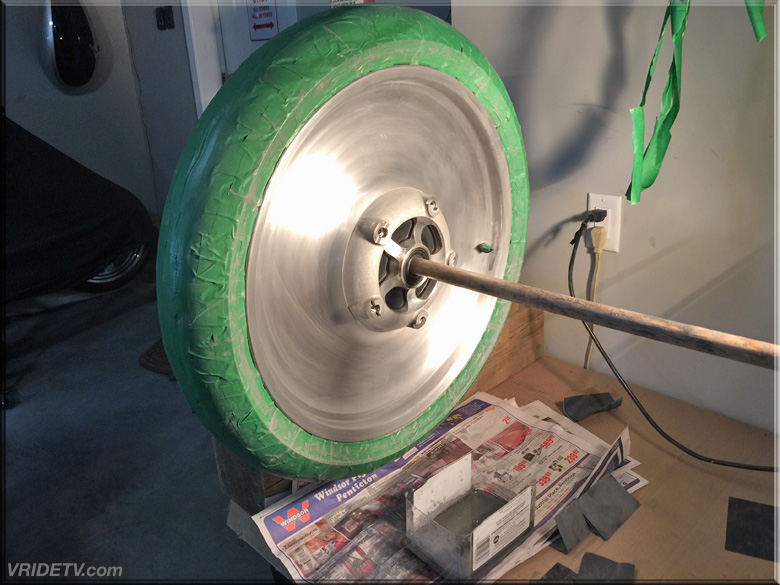
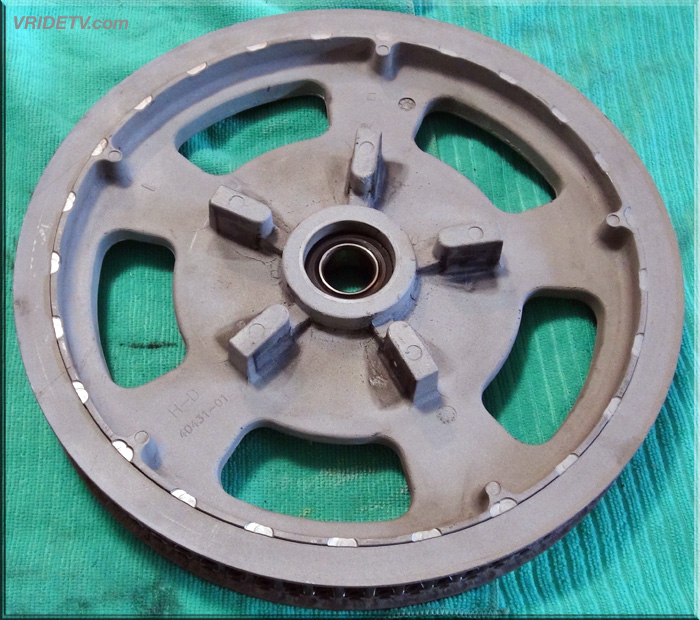
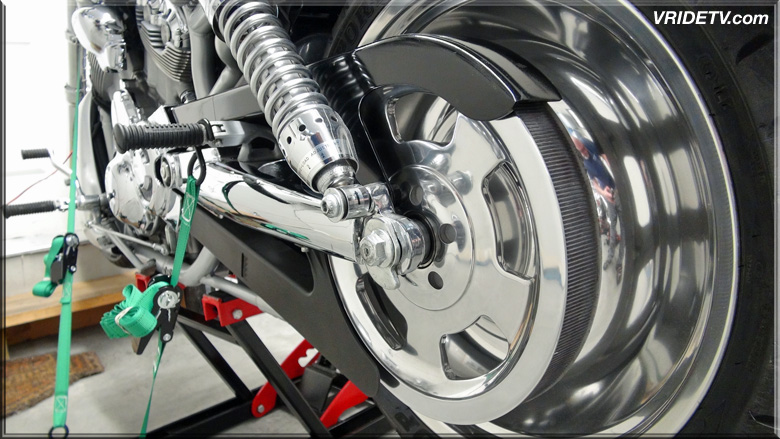
VROD aluminum wheel restoration
Time to restore this rear wheel from a 2003 Harley Davidson 100th Anniversary VRSCA V-ROD.
I will be using the same process as I did with the front wheel restoration so it seems repetitive to shoot 6 videos of the same process.
This video is to show the “before” and upon completion I’ll post the “After”.
My process will be: wet and dry sanding with 220, 320, 400, 600, 800, 1000, 2000 and the polish.
Before